Emailing digital pictures to friends and loved ones has become quite popular these days. What you may not realize, however, is that digital picture files can be quite large depending on the settings of your digital camera. Each digital picture can end up with a file size of over 1 MB, or 1000 KB, and when you send 10 of them at once to someone, their email In-Box becomes bloated with 10MB of pictures. The concern is that those with slow Internet connections may end up waiting a while for the large size files you sent them to download onto their computer. While high-speed Internet connections (e.g., cable, high-speed DSL) are becoming more common, there are still plenty who have slow connections (e.g., dial-up) and sending them large files may bog down their connection. To be courteous, I suggest resizing some of your digital pictures before sending them so that the file sizes are more manageable and appropriate for email.
I recommend keeping file sizes of pictures that you are going to email under 200 KB each.
To reduce the file size of pictures I email, I use a handy tool called Image Resizer. This little program resizes .jpg, .gif, and .bmp image files to any size you want with the click of a mouse. It can even convert from one file format to another, just in case you needed that. The resized pictures have reduced file sizes due to compression used during the resize and, in the end, you have pictures that are small enough to email or post on your family Web site.
To get Image Resizer, go to the download page and download the file, IR.exe. The file is a self-executable so click on the file to run it, follow the on-screen install instructions, and you’re ready to go.
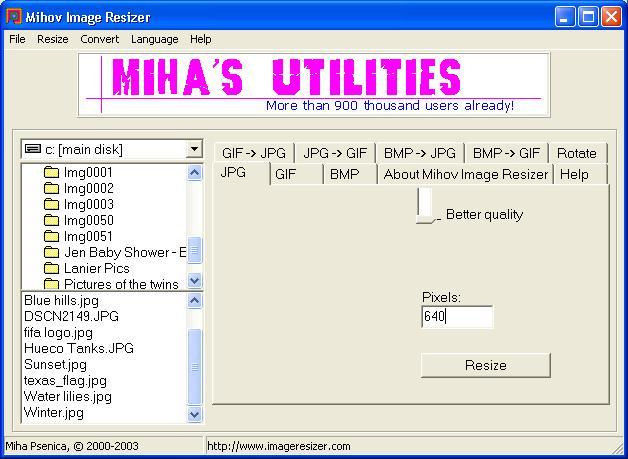
It’s pretty easy to resize one or one hundred photos at the same time, since this program handles batch jobs (multiple files at once). First, select the correct tab for the file type you are trying to resize (or convert). For example, in the screenshot above I have the JPG tab selected. Then you search for your picture files using the window on the left. Once you select the picture(s) you want to resize, type in a desired size in the box labeled, “Pixels” and click “Resize.” Image Resizer resizes images based on the width of the picture, measured in pixels. You’ll probably want to play around with the numbers you enter in the “Pixels” box to find the right size picture you are looking for. The resized image is saved with the prefix “mini-XXXXXX,” where the XXXXXX is the original file name. So your original file remains untouched and you now have smaller files to email out.
For pictures you are going to email, I recommend using a pixel size in the 600-700 range (the program default is 640). Picture resized within this range will be large enough to view, but small enough in file size to easily email. One drawback of resizing pictures with Image Resizer is that the resized pictures may be reduced in image quality. If the pictures are only going to be viewed on a computer and not used for reprints at your local photo shop, then you probably won’t even be able to tell the difference. If you want to send files so others can use them to get reprints, I suggest warning whomever you are going to send the pictures to that the file sizes may be large and to be prepared for a longer download time.
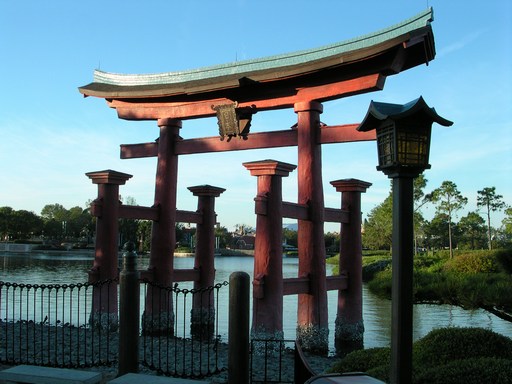
To demonstrate the effect of resizing your digital photos and the resulting smaller file sizes, I ran a little test (the results are below). I chose a picture I took at Disneyworld a few years ago and ran it through the Image Resizer, using different numbers in the pixel box. The original file size was 950 KB with a width of 2048 pixels and length of 1536 pixels (2048 x 1536).
.jpg)
The table above shows my results of resizing one picture at different sizes. The far left column contains the numbers I typed into the pixel box in Image Resizer. The middle column shows the resulting dimensions of the picture, measured in pixels (width x length). The right column, “File Size,” shows the file size for the picture after I resized it. It’s interesting to see that even when I typed in the same pixel width as the original picture (2048), the file size dropped. To show you what one of the pictures I resized looks like, below is the photo I resized to 512 x 384 pixels. That picture is still large to view, but small enough to email or post on a Web site.